
How to Remove Window Tint Glue Easily | TERMINAX Expert Guide
How to Remove Window Tint Glue: A Complete Guide by TERMINAX
Removing old or damaged window tint is one thing, but getting rid of the sticky glue left behind is a whole different challenge. If you’ve ever peeled off window tint and found yourself facing stubborn residue that won’t budge, you’re not alone.
This guide from TERMINAX, a trusted name in advanced window tint and automotive protection films, will walk you through how to remove window tint glue safely and effectively. Whether you’re a DIY car enthusiast or a first-timer, we’ve got the tips and tools to make your job easier—and your windows spotless.
Why Does Window Tint Glue Stick Around?
Window tint is applied using a strong adhesive to bond the film securely to the glass surface. Over time, especially with sun exposure and heat, this glue can break down, harden, or spread unevenly. When the film is removed (especially if it wasn’t professionally installed), this adhesive often stays behind.
Common reasons tint glue remains include:
- The tint film was peeled off too quickly or unevenly
- Age and heat exposure “bake” the glue into the glass
- Poor quality adhesive was used during installation
Before You Start: Tools and Materials You’ll Need
Here are the tools and materials you’ll want to have on hand before starting your tint glue removal process:
- Heat gun or hairdryer
- Razor blade or plastic scraper
- Microfiber cloths
- Glass cleaner
- Soapy water solution
- Isopropyl alcohol or adhesive remover
- Spray bottle
- Gloves (optional but recommended)
Step-by-Step: How to Remove Window Tint Glue
Step 1: Soften the Glue with Heat
Start by using a heat gun or hairdryer to warm the adhesive. Hold the heat source a few inches away from the glass and move it slowly across the surface. This helps soften the glue, making it easier to scrape off later.
TIP from TERMINAX: Avoid overheating the glass—especially side windows—since it could cause thermal stress or even cracks.
Step 2: Gently Scrape the Glue
Once the adhesive is warmed up, use a razor blade or plastic scraper to carefully lift the softened glue. Work in small sections, applying consistent pressure at a shallow angle to avoid scratching the glass.
If you’re working on defrost lines (typically found on rear windows), use only a plastic scraper to avoid damage.
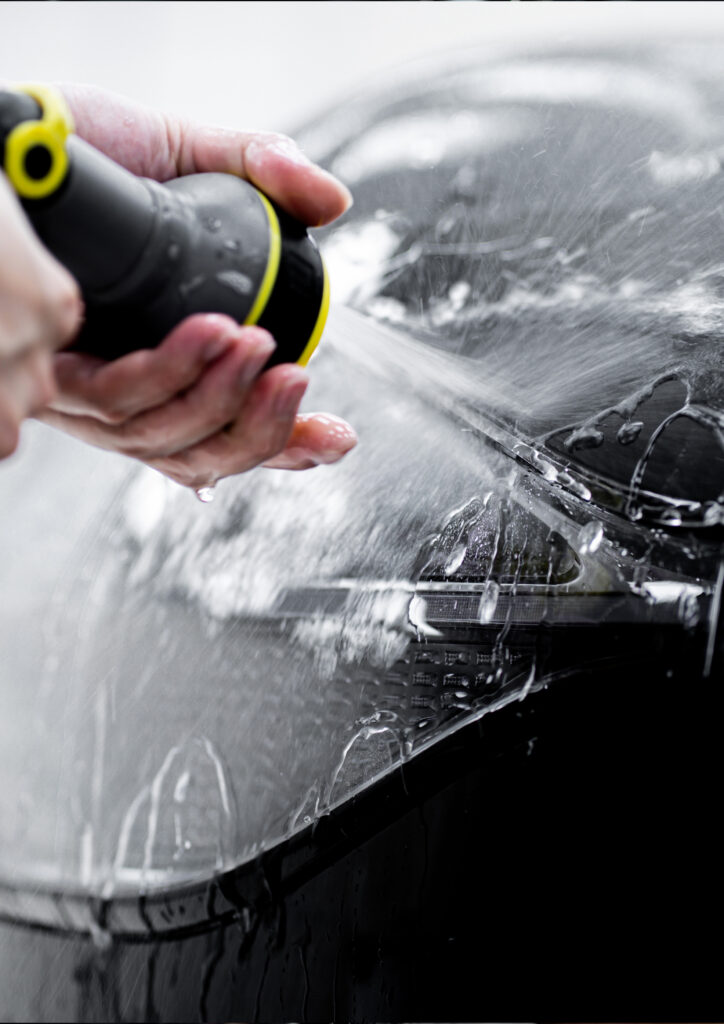
Step 3: Spray with Soapy Water or a Tint Glue Remover
Mix warm water with dish soap in a spray bottle and spray it liberally over the glue. Let it sit for a few minutes to further loosen the adhesive. For more stubborn spots, use a dedicated adhesive remover or isopropyl alcohol.
TERMINAX recommends choosing automotive-safe adhesive removers that won’t damage glass or plastic trim.
Step 4: Wipe with a Microfiber Cloth
After spraying and letting the solution soak, wipe the area clean using a microfiber cloth. If glue remains, repeat the heating and spraying process as needed.
Avoid using paper towels or rough rags, as they can leave scratches or lint behind.
Step 5: Clean the Glass
Finish the job by using a high-quality glass cleaner to remove any remaining residue. Spray and wipe until the glass is completely clean and streak-free.
Now your window is not only glue-free but also ready for a new tint installation, ideally using a TERMINAX window film.
Alternative Methods for Removing Tint Glue
1. Steam Cleaner Method
Using a steam cleaner is one of the cleanest and most effective methods to soften glue and lift it off the window. It works by gently penetrating the layers of adhesive with heat and moisture.
2. Ammonia and Plastic Wrap
Spray ammonia on the window and cover it with plastic wrap. Let it sit in sunlight for 1–2 hours. Then remove the wrap and scrape away the softened glue. This method is effective but requires proper ventilation and protective gloves.
What NOT to Do When Removing Tint Glue
- Don’t use metal blades on defrost lines. You risk damaging them permanently.
- Don’t rush. Taking your time ensures clean results and protects your windows.
- Don’t use harsh chemicals like paint thinner unless you’re experienced and working in a ventilated area.
Aftercare Tips from TERMINAX
Once you’ve removed the glue and cleaned your windows, consider reapplying a premium tint to restore UV protection, privacy, and style. TERMINAX offers advanced ceramic and carbon tints with:
- Superior heat rejection
- Non-fading color stability
- Scratch resistance
- Easy DIY or professional installation options
Explore the TERMINAX Ceramic Series for luxury-level clarity or the TERMINAX Carbon fiber wrap for a deep, blacked-out look without metal interference.
Why Choose TERMINAX for Your New Tint?
Once your windows are clean, re-tinting with TERMINAX window films is the perfect next step. Here’s why thousands of drivers choose TERMINAX:
- Top-tier protection from UV rays and heat
- Longevity and durability backed by expert engineering
- Easy application whether DIY or professional
- Wide selection of finishes, including ceramic, carbon, and hybrid films
Upgrade your car’s comfort, style, and protection by choosing a film that’s engineered to last.
Final Thoughts
Removing old window tint glue can be tedious, but it’s a manageable DIY project with the right tools, patience, and guidance. Follow the step-by-step process we’ve outlined and take the opportunity to refresh your ride with a TERMINAX window film that meets your needs for protection and style.
FAQs
How long does it take to remove window tint glue?
Anywhere from 30 minutes to 2 hours, depending on the adhesive type, window size, and method used.
Can I use WD-40 or household products?
WD-40 may help loosen glue, but it is not specifically designed for window adhesive and may leave an oily residue. Use dedicated adhesive removers instead.
Should I remove old tint myself or go to a pro?
If you’re comfortable with DIY tasks, you can do it yourself. However, for large vehicles or complex rear windows, professional help ensures faster and cleaner results.